How to Use a 35mm Film Camera
So how do you use a 35mm film camera? How does using a film camera differ from using a digital one? What should you remember when using and what should you never do when using a film camera? In this article we will answer all these questions.
Using Film Cameras: Basic Information
You could buy a film camera or find it in a closet from your parents, or get it as a gift. But what to do with it now? How to use it and how to get photos?
Of course, the first thing you need to do is understand what camera you have in your hands. The method of its use depends on this.
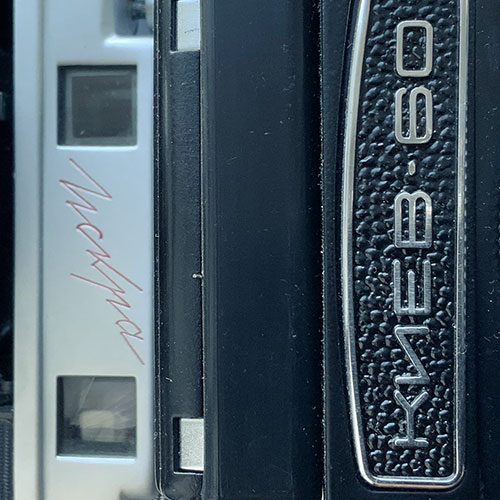
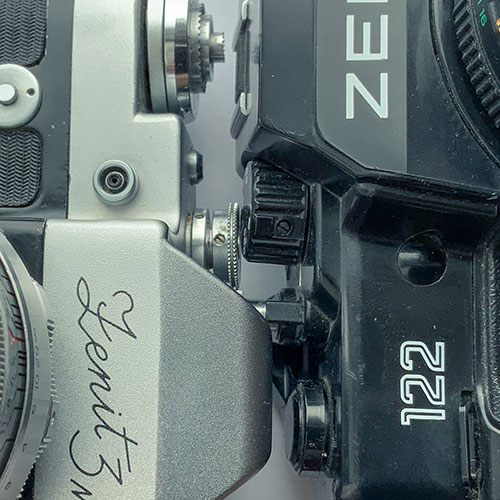
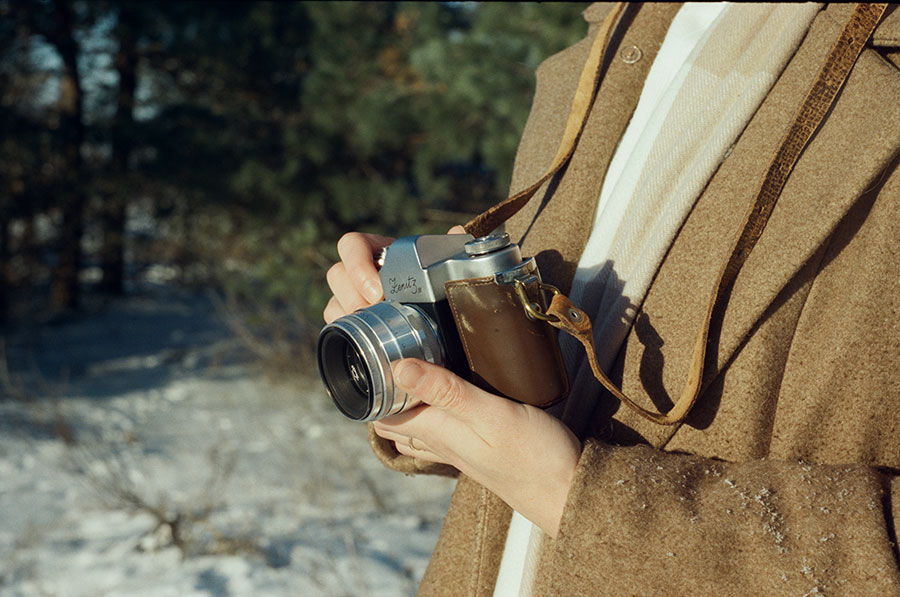
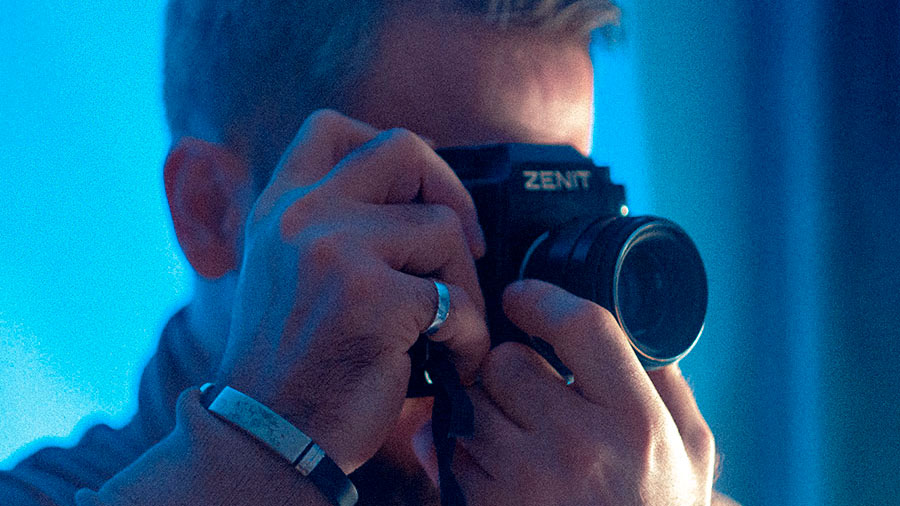
It can be an SLR camera, such as Pentax Spotmatic or Soviet Zenit cameras. A distinctive feature of such cameras is the presence of pentaprism and the opportunity to see the picture in the viewfinder as it will be in the finished photo. This is the most common type of film cameras that will be really easy and comfortable to use if you are a novice photographer.
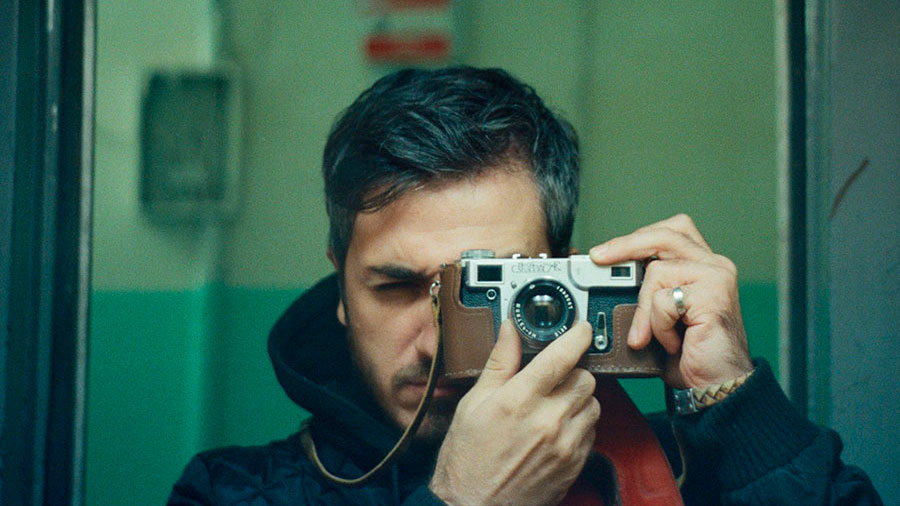
Or it can be a rangefinder camera, for example, such as Leicas or Soviet FEDs. A distinctive feature of this type of camera is the presence of a long -range focus system, instead of pentaprizm. To focus with such a camera, you need to combine two images in the central part of the viewfinder.
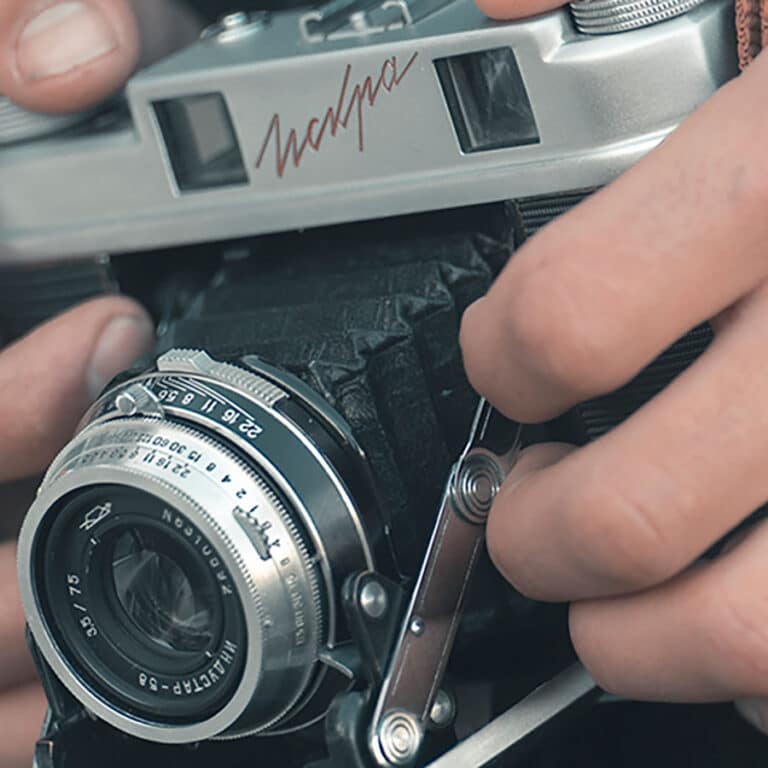
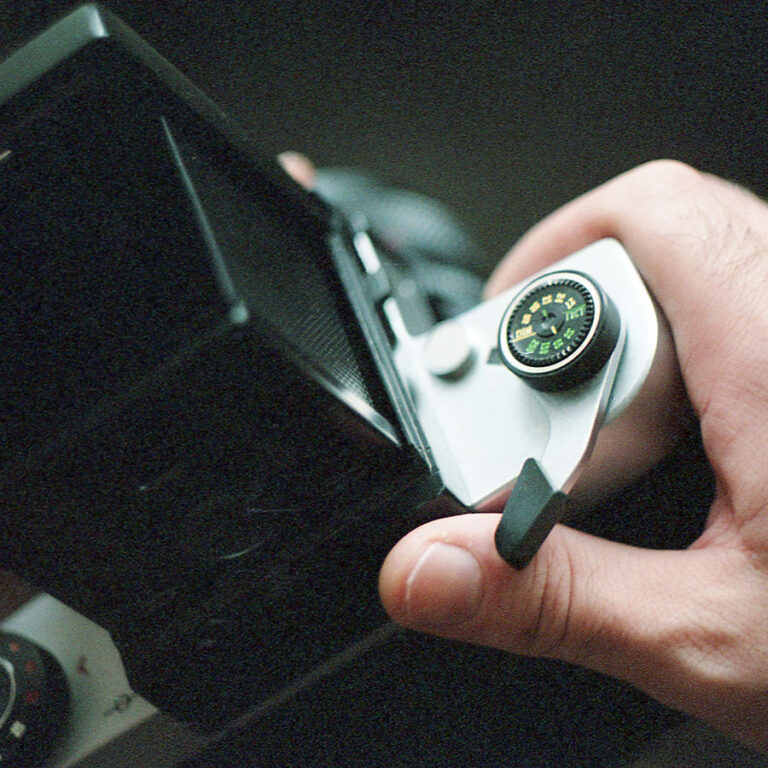
But this can be a scale camera in which there are no focusing systems at all. In order to focus with such a camera, you will need to measure the distance from the camera to the photo -based object and configure the lens to the desired distance. Such cameras include the legendary Soviet Smena.

Film cameras have been produced for many decades and they can be either fully manual or have some automatic features. The most recent film cameras produced in the first decade of the 21st century were fully automatic and operated little differently from modern digital cameras.
If your camera is partially automatic, then it may have automatic shutter speed, aperture, or automatic ISO selection. Or your camera may be manual but have an exposure meter that helps you choose the correct shutter speed or aperture value.
So, after you understand which camera is in front of you, let’s try to understand how to use it all the same?
How to Use a 35mm Film Camera Step-by-Step
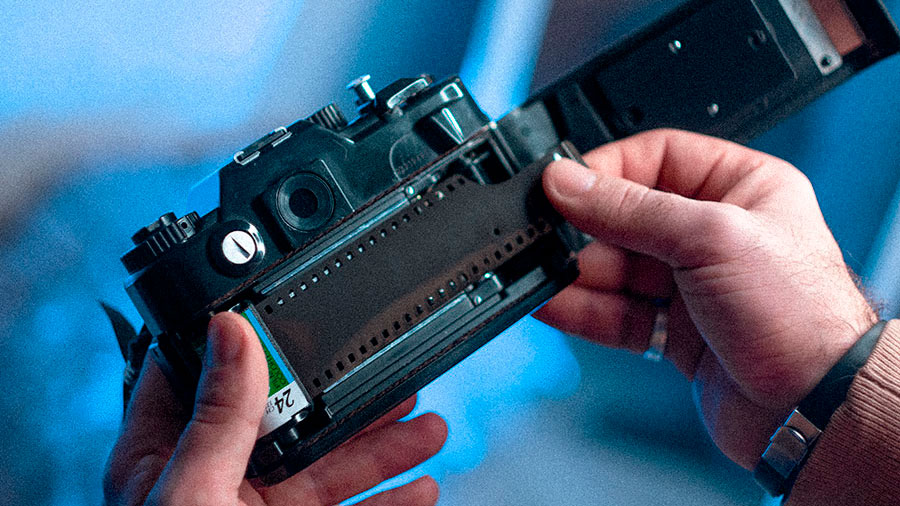
Step 1 – Load the film into the camera
Take the camera, open the back cover, insert the film into the left side with the protruding part of the spool facing down and stretch the film to the take-up spool on the right side. Next, tuck the tip of the film into the special slot in the take-up spool, making sure that the perforation of the film catch on sprocket gear. Close the back cover, cock and click 2 times to rewind the exposed area of the film.
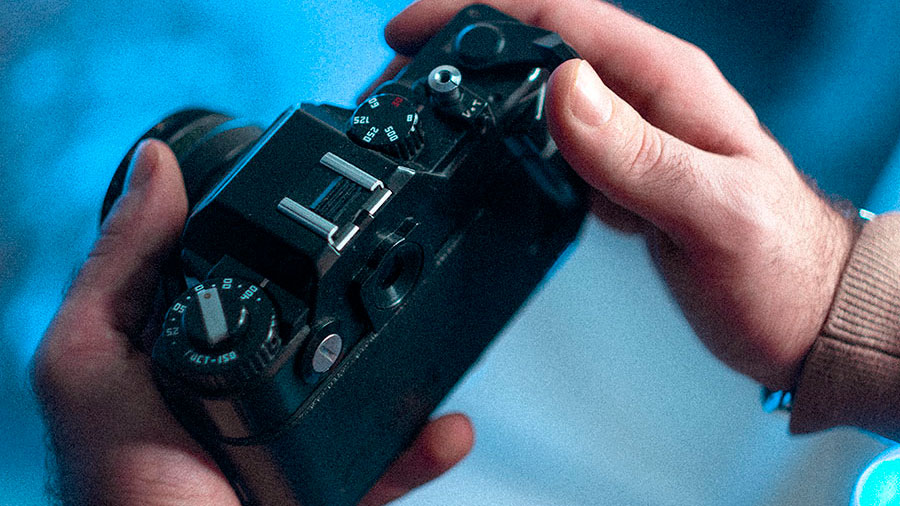
Step 2 – Check that the camera is ready for shooting
This is a very important step, where many novice photographers make mistakes that lead to accidentally exposed film or to the fact that the film was not spooled onto the take-up spool at all. If the film is installed correctly, then when you cock the shutter you will see the film rewind knob rotate. Also, check if the back cover is closed and if the frame counter is working and set the desired ISO in accordance with what is written on the film packaging.
Step 3 – Prepare for shooting
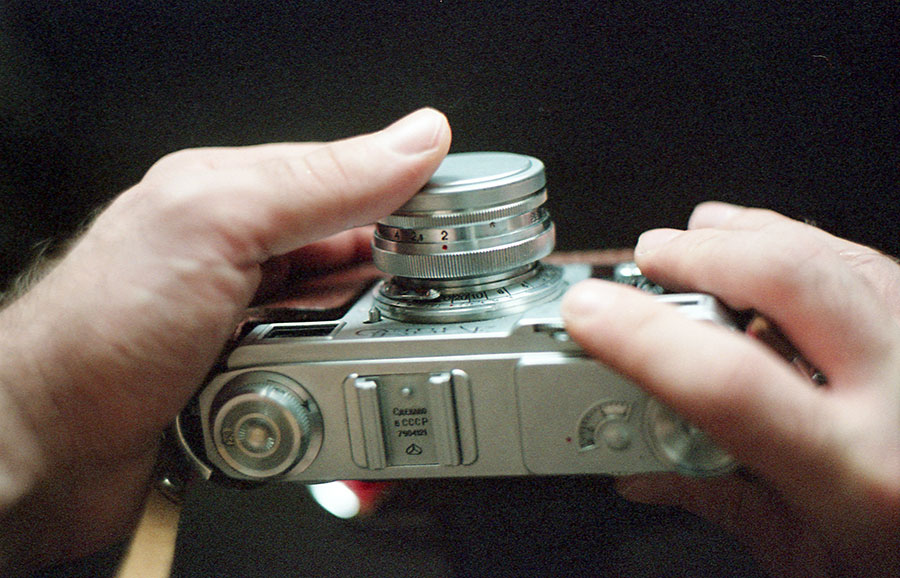
If your camera is not fully automatic, there are some very important things you need to do before taking a photo. The first step is to choose the correct shutter speed and aperture. The built-in light meter will help you with this. If it is not there, then you can use a separate light meter or special light meter applications that are available in modern smartphones. Next, you will need to cock the shutter and advance the film using the film advance lever, unless of course this is done automatically in your camera.

Step 4 – Shoot the film
After all the preparatory steps are completed, it’s time to take a photo. Looking through the viewfinder, focus on the desired object. If you have a SLR camera, then turn the focus ring until the object you are photographing becomes sharp. If you are using a rangefinder camera, then turn the focusing ring until the two images in the center of the viewfinder merge into one. If you have a scale-focus camera in your hands, set the distance by eye or measure using a auxiliary rangefinder. Take photos following the basic rules of composition and exposure. Keep an eye on the frame counter so you know when the film runs out.
Step 4 – Finish shooting
The moment you notice that the film advance lever does not move any further, you can be sure that your camera is out of film. To rewind the film, press the rewind button, grasp the rewind lever, and rewind the film back into the canister. Open the back cover, take out the film and close the back cover. Until you have shot the film and rewound it back into the canister, do not open the back cover, otherwise you will ruin the entire film.
Step 4 – Develop the film
After the film is finished, it needs to be developed. This process is best left to professionals. Nowadays, there are still quite a few darkrooms that can develop your film in the best possible way. Take your film to one of these labs, they will develop the film for you, scan it and send it to you in finished electronic form. Alternatively, you can ask to have your photos printed on photo paper, just like in the good old days.
Key Features of Using Film Cameras
Using film cameras is very different from using digital cameras in many ways.
First of all, this is basically an old manual technique, and you need to know how to use it. Shutter speed, aperture, ISO, film rewind, etc. You may not need knowledge of all this when you shoot with a digital camera, but it will be necessary if you shoot on film.
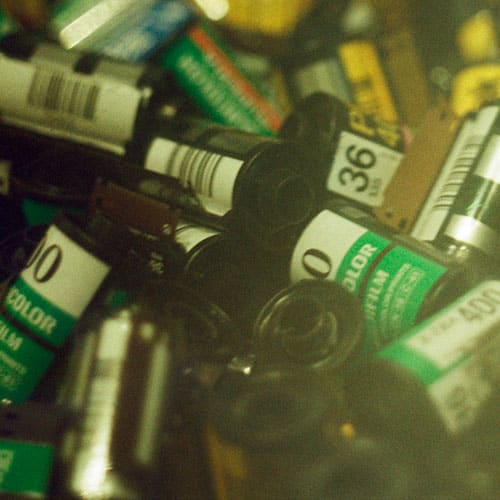
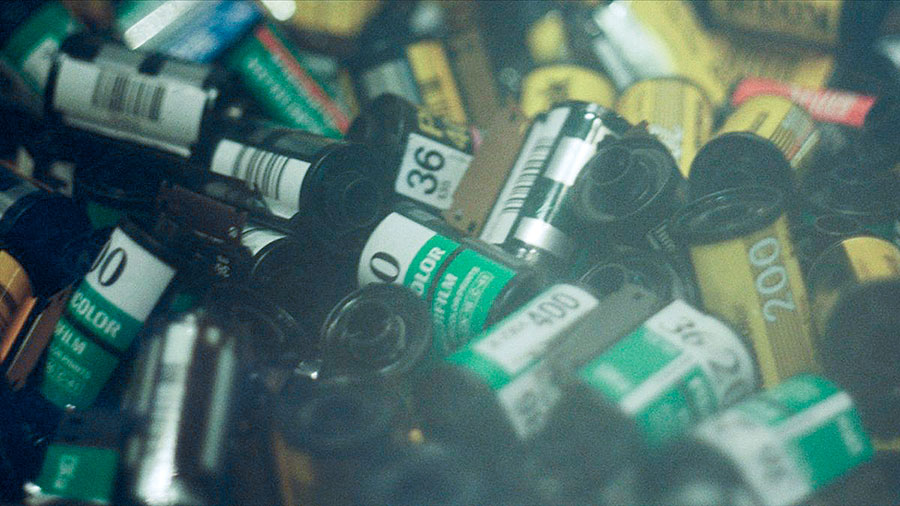
Film cameras have a limited number of shots. Film has a fixed number of frames (usually 12, 24 or 36), which forces the photographer to choose the moments to shoot more carefully.
Film requires chemical treatment before images become visible. In addition, you can’t immediately see the photo you’ve taken, which adds an element of surprise.
But the most important thing is the end result, which you will see in the resulting photographs. Nowadays, a huge number of filters in processing applications or on social networks imitate the film look that you will receive, as they say, right out of the box.
What Else to Remember When Using a 35mm Film Camera
Film Selection
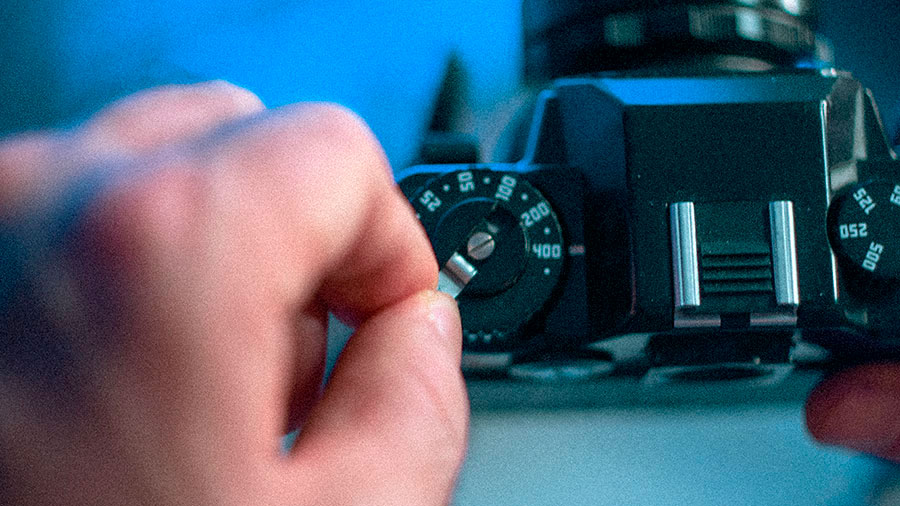
Film comes in different types and speeds (ISO). Black and white film is ideal for creating classic, timeless images, while color film is suitable for vibrant, rich images. The choice of ISO depends on the lighting conditions: low ISO (100 or 200) is better for bright sunlight, while high ISO (400 and above) is suitable for shooting in low light conditions.
Composition and Focusing
Before taking a photo, it is important to carefully consider the composition of the frame. Film photography requires a more thoughtful approach, as every frame matters. Manual focusing allows you to control the sharpness of the image, which is especially important when shooting portraits or macro photography.
ISO, Shutter Speeds and Aperture
Unlike digital cameras, most film cameras do not have any automatic settings. This means that when using a 35mm film camera, you must know what ISO is, how to properly set the aperture, and how to choose the correct shutter speed.
How to Use a 35mm Film Camera: Conclusion
The process of using a 35mm film camera carries a special charm and brings deep satisfaction from creating something eternal and unique. Despite all the challenges associated with analog photography, the results are definitely worth it.
By mastering the art of film photography, we not only capture memories, but we also contribute to an art form that has stood the test of time.
We really hope that this article on using a film camera helped you understand all the necessary basics so that you can touch the world of analogue photography.