How to Load 35mm Film Into a Camera
In this article I want to tell you how to load 35mm film into a camera, what you need to remember and what you should never do.
Loading 35mm film into a camera is a basic skill for film photographers. This process may seem difficult for beginners, but with practice it becomes quick and easy. In this article we will take a closer look at how to properly insert 35mm film into a camera, discuss common mistakes and give useful tips.
What you will need
- 35mm film camera
- 35mm film
- good lighting and a clean, dry environment are desirable
Preparing for Loading Film
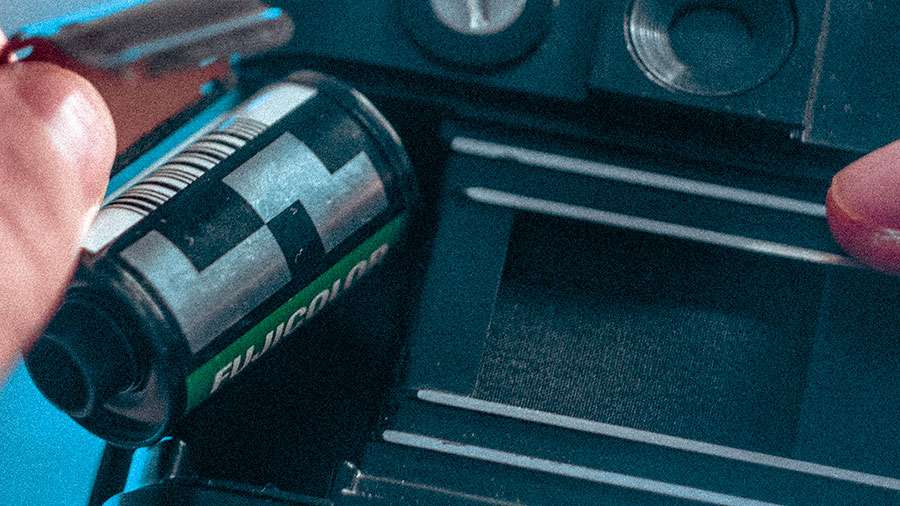
- Film selection. Before loading 35mm film into a camera, make sure the film is suitable for your type of shooting. There are different types of films with different sensitivities (ISO) designed for different lighting conditions.
- Checking the camera. Before loading film make sure that the camera is turned off (if it is designed to be so) and that there is no old film in it. If the old film is still in the machine, it must be carefully removed following the manufacturer’s instructions.
How to Load 35mm Film Into a Camera Step-by-Step
Step 1 – Open the back cover of the camera
Typically, most film cameras have a lever or button to open the back cover. Find it and carefully open the lid, revealing the inner space for the film.
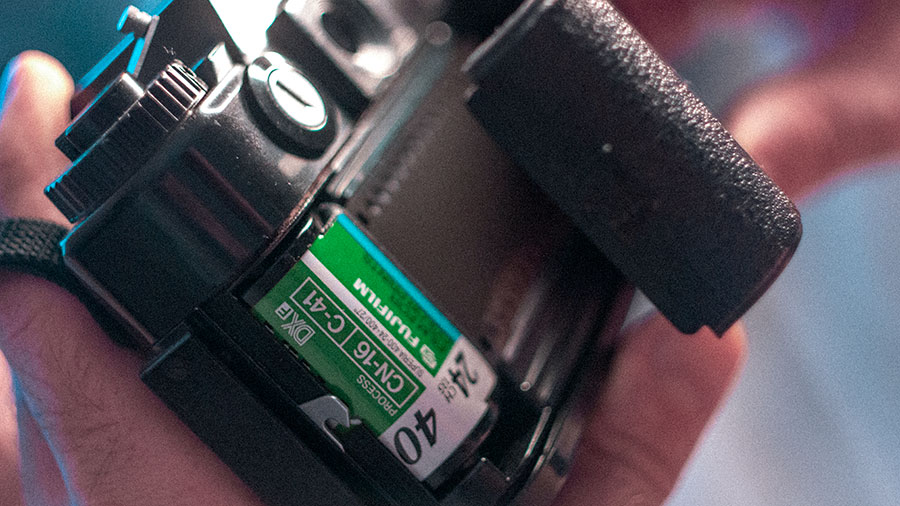
Step 2 – Load the film
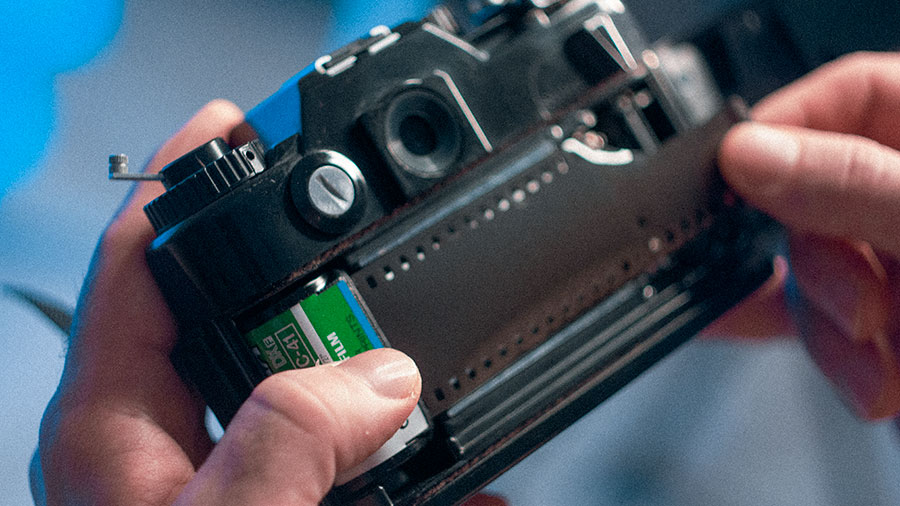
Take the film cassette and insert it into the special compartment, usually located on the left side of the camera. Make sure the cassette is firmly and correctly seated.
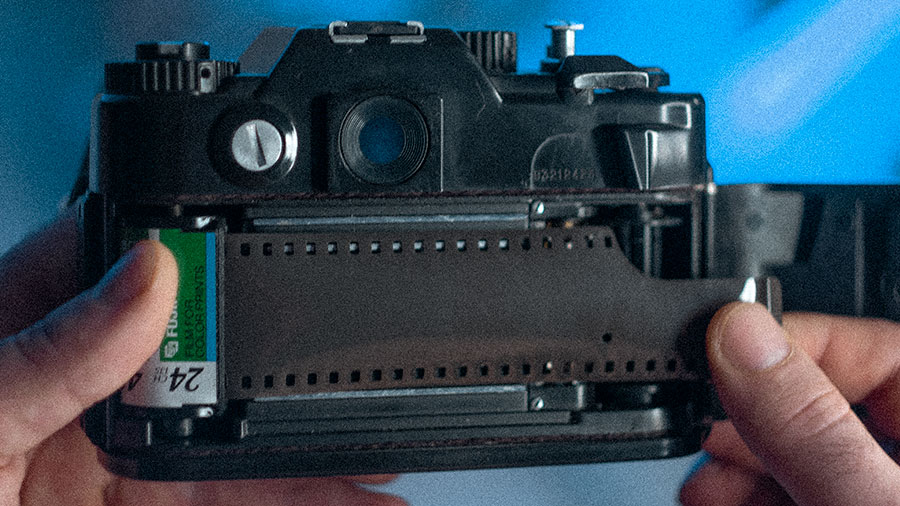
Step 3 – Pull the film
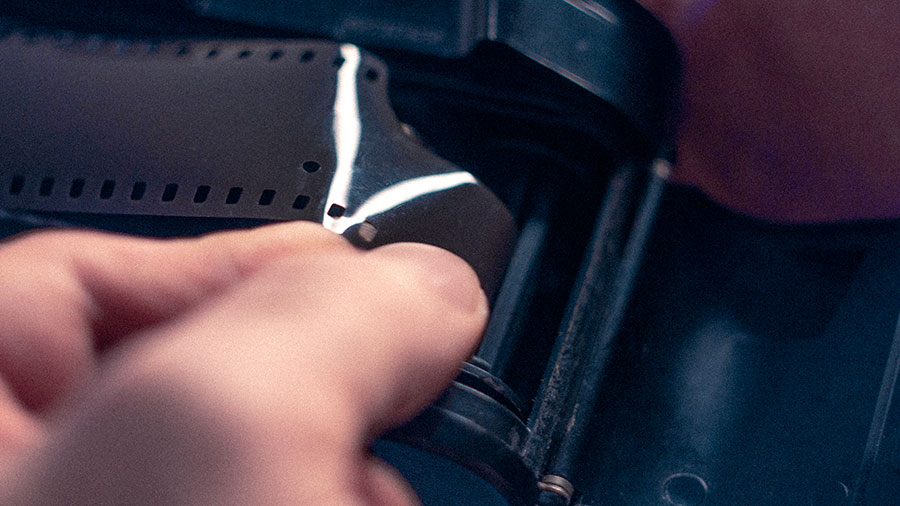
Carefully pull the end of the film out of the cassette and slide it along the back of the camera to the take-up spool on the right side.
Step 4 – Attach the film to the take-up spool
Insert the end of the film into the slot or hook on the take-up spool. Some cameras have automatic film loading, in which case simply hold the end of the film to the take-up spool and the camera should automatically pick up the film.
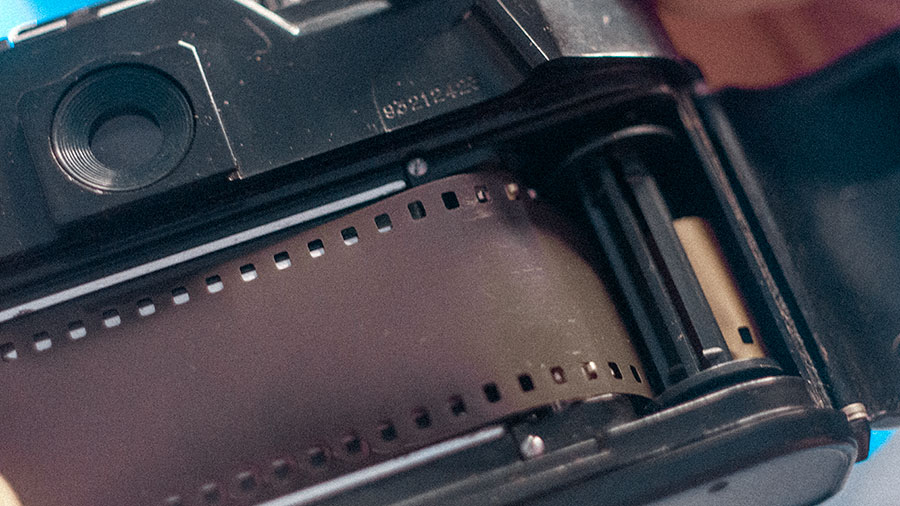
Step 5 – Checking the film tension
Once the film is secured, gently tug on it to ensure it is taut and positioned correctly. This will prevent the film from curling and will ensure that the film moves evenly as you shoot.
Step 6 – Close the back cover
Carefully close the back cover of the camera. Make sure it closes tightly. To do this, gently press on the left side of the back cover.
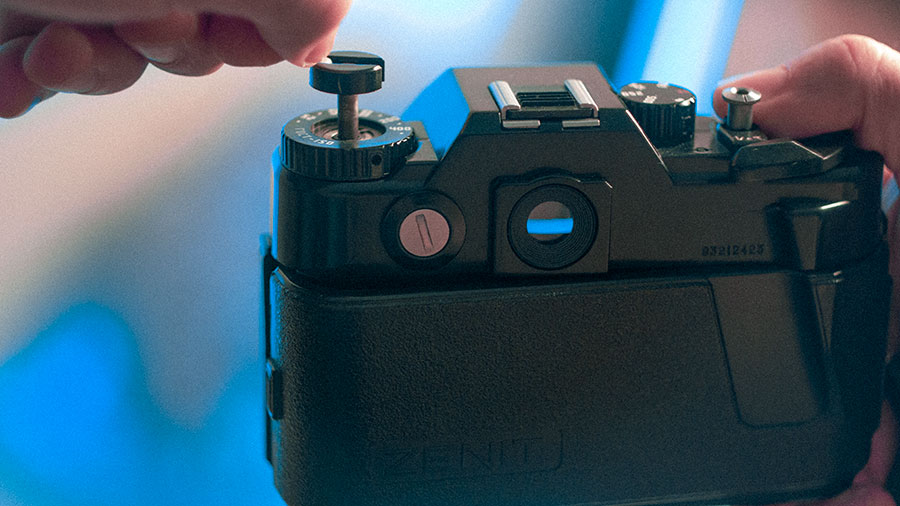
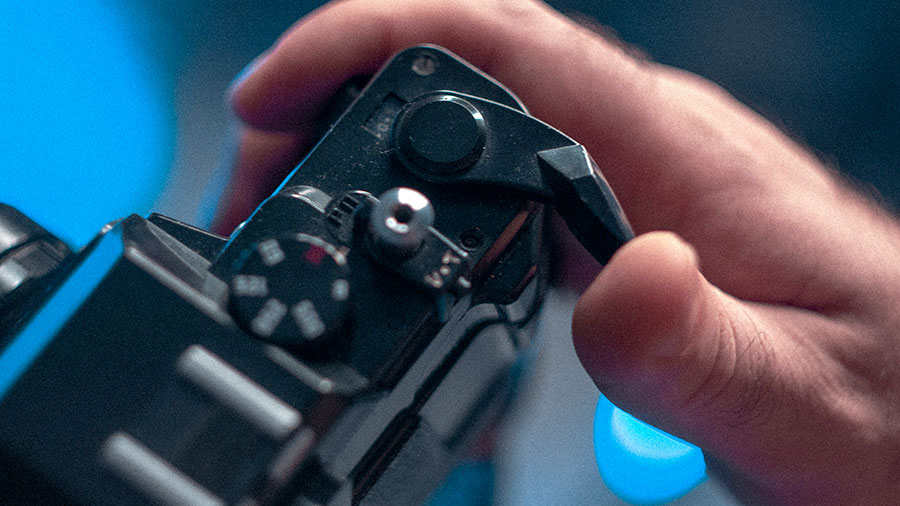
Step 7 – Cock and release the shutter twice
This is done in order to rewind two exposed frames. When cocking, pay attention to the rewind lever. If the film is properly primed, this lever should rotate while the shutter is cocked.
Common Mistakes
Incorrect placement of film. Make sure that the film lies flat and does not twist during loading.
Insufficient film tension. The film should be stretched enough to prevent it from curling inside the camera.
Loading film in a poorly lit area. This may result in the film being inserted incorrectly, causing you to have to repeat the entire process.
Additional Aspects
Film Storage
Temperature and humidity: The film is sensitive to extreme temperatures and humidity. Store the film in a cool and dry place. Refrigerator storage is suitable for long-term storage, but the film should be acclimatized by leaving it at room temperature for several hours before use.
Expiration date: Pay attention to the expiration date of the film. Expired film may produce unexpected effects such as changes in colors or contrast.
Preparing for Shooting
Cleanliness: Make sure the inside of the camera is clean before inserting film. Dust or dirt inside the camera can cause smudges or scratches on your photos.
Checking the battery: If your camera relies on a battery to operate the shutter or light meter, make sure the battery is fully charged before shooting.
While loading film
Avoid direct sunlight: Load film in the shade or indoors to avoid accidental light pollution that can ruin the first few frames.
Be careful with the end of the film: Do not pull the film too far out of the cassette when loading. This may damage the camera or make it difficult to close the camera back cover.
After loading the film
Checking the film Indicator: Some cameras have a film loading indicator that shows that the film is properly loaded and ready to shoot. Make sure the indicator shows that the film is moving correctly as you scroll.
Check the frame counter: After you have inserted the film and taken two preliminary shots, check the frame counter and make sure it is set to the first frame.
Features of different cameras
Mechanical vs. automatic cameras: The film loading process may vary depending on the type of camera you have. With mechanical cameras, you will need to manually advance and stretch the film, while with automatic cameras (for example point-and-shoot cameras), most of these processes happen automatically.
How to Load Film Into a Camera: Conclusion

This article has guided you through each critical phase, from preparing your camera, to correctly positioning the film, ensuring it securely catches on the take-up spool, and finally sealing the camera, ready to capture the world through its lens.
loading 35mm film into a camera requires care and attention, but with practice the process becomes quick and intuitive. By following the instructions above, you can avoid common mistakes and ensure the quality of your film photos.